Hello, music enthusiasts! Today, I want to share something special with you – a revamped guitar tutorial for Dire Straits’ classic hit, “Walk of Life.” The old tutorial has been a fan favorite for over a decade, with more than 130,000 views.
Why the update, you ask? Well, times have changed, and technology has evolved. We now have access to the original isolated guitar track, making it the perfect time to revisit this gem.
The focus here is on Mark Knopfler’s guitar work, which gave “Walk of Life” its unique flavor. It’s not just about playing the notes; it’s about capturing Knopfler’s distinctive style.
One standout technique is Mark’s right-hand approach. He uses a thumb and index/middle finger combo, giving the song its distinctive groove. It’s like a mix of bluegrass and country guitar.
The tutorial breaks down the song into three parts: the intro, verse, and chorus. In the intro, Knopfler’s Chuck Berry-style riff takes the spotlight. The instructor emphasizes making the strings resonate for that rich sound.
Moving to the verse, we see a lot of E chords. Pay attention to Knopfler’s G note bend when switching to A. There’s also a cool pedal steel lick on the 14th fret.
In closing, if you’re a Dire Straits fan or just eager to explore guitar playing, check out this tutorial. It’s an insightful journey into Knopfler’s guitar magic. Subscribe, keep strumming, and stay tuned for more musical adventures. Rock on!
If you’ve ever picked up a guitar as a beginner, you’re likely familiar with the discomfort that comes from pressing down on those steel strings with your tender fingertips. It’s a rite of passage for many guitarists, but it’s also a challenge that has led to the creation of various gadgets aimed at easing the pain. In this blog post, we’ll delve into a video transcript where a guitarist tests and reviews several of these gadgets.
The Gadgets in Question
The video titled “I Bought Some Guitar Crap So You Don’t Have To (Plus a Good One!)” takes a close look at a range of finger protection gadgets. Here are the gadgets featured:
1. Silicone Thimbles: These are small silicone caps designed to fit over your fingertips to cushion them and prevent them from pressing too hard on the strings. They’re simple and inexpensive.
2. Silicone Finger Covers: These are essentially silicone sausages that you place on your fingers. They offer more coverage than thimbles but serve a similar purpose. These sleeves are larger and cover a significant portion of your fingers. They provide better protection but may alter the sound of your guitar.
Testing the Gadgets
The video’s host tries out these gadgets one by one, sharing his experiences and insights. Here’s a summary of his findings:
Silicone Thimbles: While these thimbles offer some protection, they are uncomfortable and may cut off circulation if they’re too tight. They are best suited for complete beginners playing basic chords.
Silicone Finger Covers: These provide more coverage and protection but can still be uncomfortable if not fitted properly. They are also prone to slipping off. These sleeves are the most protective but introduce a buzzing sound when playing the guitar. They are not recommended for professional use but might be helpful for those dealing with finger pain.
Alternative Solutions
The video host also emphasizes that these gadgets are not the ultimate solution to finger pain. He suggests two alternative approaches:
Guitar Setup: Getting a professional guitar setup can significantly improve the playability of your instrument. Lowering the action and ensuring the nut is properly cut can make playing more comfortable, especially for beginners.
Finger Exercises: Regular finger exercises can help build finger strength and dexterity, reducing discomfort over time.
Final Thoughts
In conclusion, the gadgets tested in the video provide varying degrees of protection and comfort, but they may not be the best long-term solution for finger pain. Ultimately, the choice of whether to use these gadgets or explore alternative approaches should be based on individual preferences and needs.
Remember, the journey of learning to play the guitar often comes with some discomfort, but with practice and perseverance, your fingertips will toughen up, and the pain will subside. It’s all part of the process of becoming a skilled guitarist.
Disclaimer: If you have serious finger issues or pain that persists, it’s essential to consult a medical professional or a guitar instructor for guidance tailored to your specific situation.
Walter Becker, one-half of the iconic duo behind Steely Dan, is renowned not only for his distinctive musical style but also for his prowess as a producer and songwriter. In this guitar tutorial, we delve into one of his lesser-known works, “Cringe Maker,” which stands out as a unique and funky departure from the typical Steely Dan sound.
Walter Becker: A Musician with Versatility
Before we dive into the tutorial, it’s worth acknowledging Walter Becker’s multifaceted talents. While his soloing style might not appeal to everyone, his role as a producer and songwriter is undeniable. He possessed a remarkable depth of knowledge when it came to crafting music. “Cringe Maker” is a testament to his versatility.
Unpacking “Cringe Maker”
“Cringe Maker” is a song that deviates from the norm. As most Steely Dan tracks, it does adhere to a consistent beat. This tune serves as an excellent example of Becker’s ability to experiment with harmony and arrangement.
Guitar Parts: Classic Rock and Jazzy Influences
In this tutorial, we’ll explore two distinct guitar parts within “Cringe Maker.” The first part embodies the essence of classic rock and roll. It begins with an E chord, followed by notes on the A string (B, C sharp, and D on the 2nd, 4th, and 5th frets). There’s a bit of ambiguity regarding how Becker played this part, but it involves either sliding up to the E on the A string’s 7th fret or hitting the 2nd fret of the D string.
The next two chords are C#m7 and Dm9. These chords contribute to the song’s unique sound.
The main riff during the verse is intriguing. It comprises inverted chords, adding an extra layer of complexity. Here are some of the inversions used:
A over C#
G over B
F over A
F minor over Ab
E over G#
F#7
D over F#
The song culminates in an Fm13 chord before returning to the main riff. These inversions provide an excellent opportunity to practice a unique style that combines elements of jazz and classical guitar.
A Quirky and Unusual Gem
“Cringe Maker” by Walter Becker is indeed a quirky and unusual gem in the world of music. Its unconventional structure and chord progressions make it a fascinating piece to explore. If you’re looking to learn inversions in a style that isn’t strictly jazz or classical, this song is an excellent choice.
Conclusion
In this short tutorial, we’ve scratched the surface of Walter Becker’s “Cringe Maker.” It’s a song that invites you to dig deeper, experiment, and appreciate the artistry of this legendary musician. If you have any questions or suggestions for other songs with interesting chord inversions, please share them in the comments section. As always, don’t forget to like, subscribe, and stay tuned for more musical explorations.
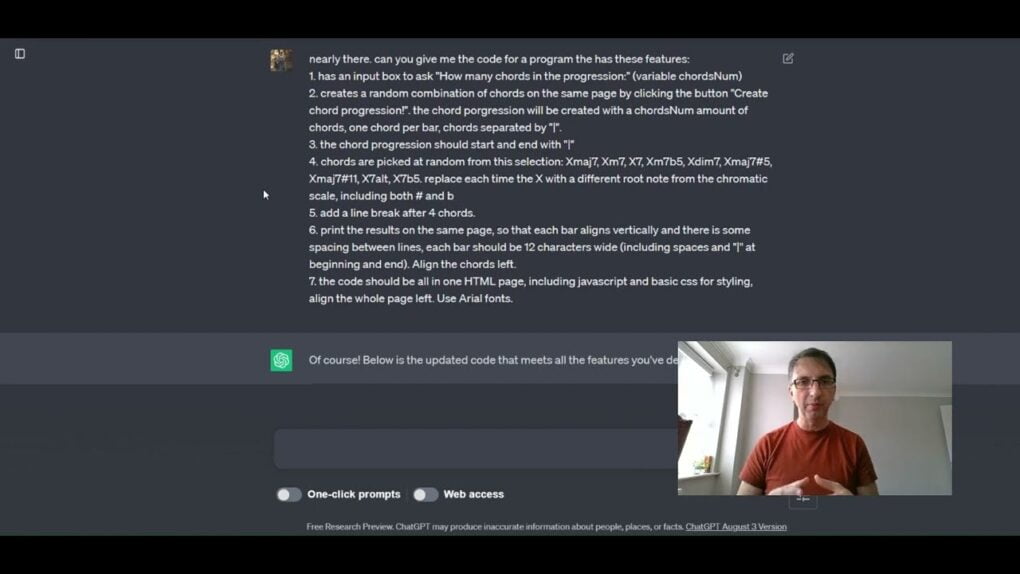
can you give me the code for a program the has these features:
has an input box to ask “How many chords in the progression:” (variable chordsNum)
creates a random combination of chords on the same page by clicking the button “Create chord progression!”. the chord porgression will be created with a chordsNum amount of chords, one chord per bar, chords separated by “|”.
the chord progression should start and end with “|”
chords are picked at random from this selection: Xmaj7, Xm7, X7, Xm7b5, Xdim7, Xmaj7#5, Xmaj7#11, X7alt, X7b5. replace each time the X with a different root note from the chromatic scale, including both # and b
add a line break after 4 chords.
print the results on the same page, so that each bar aligns vertically and there is some spacing between lines, each bar should be 12 characters wide (including spaces and “|” at beginning and end). Align the chords left.
the code should be all in one HTML page, including javascript and basic css for styling, align the whole page left. Use Arial fonts.
I also made the blog post below with ChatGPT by analysing the transcript of my Youtube Video (and making some corrections):
Hey there, fellow jazz enthusiasts! Today, I am thrilled to share with you a game-changing solution that has revolutionized my jazz improvisation practice. As a musician deeply passionate about jazz, I always sought ways to enhance my skills and break free from the usual chord patterns. And now, I have the perfect tool to do just that!
Let me take you on a journey through my discovery of this ingenious software I call “Chordify-Solo.” Inspired by a classic exercise from the legendary “Advancing Guitars” book, I wanted to bring this exercise into the digital age to make it even more powerful and accessible.
The idea is simple: create a web-based application that generates random chord progressions for jazz practice. You see, the traditional method involved writing chord codes for different keys on pieces of paper, then randomly selecting them to build chord progressions. But why stick to paper and chance when technology can make it even more exciting?
With my passion for both jazz and coding, I embarked on the journey to develop Chordify-Solo. The first step was creating an input box where users like you can specify the number of chords you want in your progression. Want an eight-chord masterpiece? Or maybe you prefer a more concise four-chord journey? It’s all up to you!
Once you enter the number of chords, simply click the “Create Chord Progression” button. In the blink of an eye, your jazz-ready chord progression will appear on the screen. The magic here lies in the randomness; each click generates a unique chord sequence that sounds musically cohesive.
But what about the chords? Fear not, my fellow jazz aficionados! I’ve carefully curated a selection of seventh chords, including major seventh, minor seventh, and dominant seventh. This ensures that your generated progressions align beautifully with jazz standards.
Now comes the exciting part – improvisation and ear training. Armed with the generated chord progression, it’s time to let your creativity soar. Play along with the chords and practice your ear training skills. Trust me; you’ll be astounded at the original ideas you can create from seemingly random progressions.
But it doesn’t stop there. Chordify-Solo is a fantastic tool for ear training. You can record the chord progression, save it as an audio file, and then play it back later. Challenge yourself to identify the chords by ear and improvise over them without looking at the chords. This exercise will truly take your musical ear to new heights.
As a guitarist, I was initially the primary focus for Chordify-Solo. Still, I quickly realized that musicians of all instruments can benefit from this innovative practice tool. So whether you’re a jazz pianist, a saxophonist, or any other instrumentalist, Chordify-Solo has got you covered!
The beauty of this approach lies in breaking away from predictable chord patterns, encouraging exploration, and discovering fresh sounds. Jazz is all about pushing boundaries, and Chordify-Solo has become my loyal companion in this thrilling musical adventure.
If you’re eager to embark on your jazz mastery journey, I invite you to experience Chordify-Solo firsthand. Visit my website, where you’ll find the HTML page complete with JavaScript and basic CSS. It’s time to unlock your true improvisational potential and let your creativity shine.
Before I wrap up, I’d love to hear your thoughts. If you enjoyed this blog post and want more content like this, consider subscribing and sharing with your fellow jazz enthusiasts. Let’s continue to elevate our jazz solos together!
If you don’t know Greg Koch he’s a monster player, really tasteful, knowledgeable guitarist. He’s been a product demonstrator for Fender for years (I remember meeting him in Boston in 2001 ). This a great full clinic that hopefully will stay up on YT for a while. Please support this guitarist, it’s great to have his material on line, and I am sure there is something for everybody to learn from his playing.
I am not affiliated with him in any way, but this is his site: http://gregkoch.com/wordpress/