An Introduction: the big picture
In this short introduction I will point out what I think a musician should work towards to reach his or her full potential. Many times we get too stuck into the details, missing out on the bigger picture. This is so that you can be a well rounded musician, of course, if that is your goal. This list is by no means complete: I will keep adding things and modifying as I go along, and comes without saying, these are thoughts from my experience of 30 years of playing, performing and teaching, nothing more.
Styles
You should be able to play both rhythm and solo in the most popular styles: pop, rock, funk, jazz, Motown, R&B, metal, classical and so on. Pay attention to the ‘feel’, on how musicians interpret or ‘carry’ the tempo: this is what we are trying to copy. Are they relaxed? Are they playing in a very aggressive way? Are they playing behind the beat or ahead of the beat? What are ‘typical’ chord progressions in a specific style? Or comping patterns? Soloing phrases? Are there traditional and modern ways of playing in that style? You’ll agree that a shred metal solo played in a reggae tune will sound out of place…so if you are asked to play a solo over a tune or comp in a specific style, you should be able to pull it out from your ‘library’. I am not saying that it is wrong to fuse different styles, but here I am trying to cover the everyday-type situation.
The best way to do this is by expanding your repertoire: learn all the classics, no matter what your favorite style is. Good tunes are good tunes regardless of the style they are played in.
Harmony and Music theory
For a lot of musicians ‘playing by ear’ is good enough. But ‘good enough’ is not what we are aiming for here: this is about reaching your full potential, being able to have your senses trained so that you can recognize music by ear, use your brain to analyze and your fingers to play it. Theory can be a two-headed monster: it is very easy to get stuck trying to understand everything…and forget about playing. So try and keep your understanding of theory related to what you are doing, whether it is playing or composing music. When you discover something new try to take the theory to your instrument or your writing routine. What you have to know? I’d say the basics are: how to build chords, major and minor scale harmony, modal harmony, voice leading, functional harmony (aka understanding the structure of songs and their chord progressions), blues harmony. Of course everything in all 12 keys!
Ear training
Ear training is the skill of recognizing pitch, intervals, chords, chord progressions and more. I’d say you should be able to recognize at least a major chord from a minor chord, a major key from a minor key, and all the intervals (distance between two notes). If you want to take it a step further you should be able to recognize chord progressions, from simple (two five one’s and so on) to more complex; modes and modal progressions; extensions played in a chord (is that G7 or G7flat9flat13?) and so on.
A lot of people think perfect pitch (or absolute pitch) is essential to be the next Beethoven. I think relative pitch is probably more important. Yes, perfect pitch is great if you want to transcribe a solo and you don’t have your instrument with you, but I think to recognize progressions relative pitch helps a lot more. And relative pitch is easily acquirable.
There are plenty of great ear training apps out there these days.
Technique
Technique is not speed, how fast you play…technique is how accurately you play. So try and focus on your articulation: it does not matter if you play one or a million notes per second. You have to be able to play in a seamless way, without glitches and with good articulation. Keep yourself always in top conditions, as you’ll never know when you will need to pull out all the stops. Explore all possible techniques: alternate picking, economy picking, finger picking, legato, slides…It does not mean you will have to use only one exclusively; your playing will incorporate a mix of all of the above.
You will find many technical exercises at the end of the video lessons page.
Reading and Notation
Reading and being able to notate (aka write music) is a great skill to have. First of all it will improve the knowledge of your instrument. Secondly it will open the doors of millions of tunes for other instruments that do not use tab. I mean, tabs are a great tool to quickly put down an idea…but trust me: you will never be presented a tabbed chart in a paid job, as arrangers do not write in tabs. There is no trick or secret about reading, all you have to do is find out how to read charts, where to find them on your instruments, and then just keep reading, a little bit every day, even just a few minutes, as long as it is music you have never read before. We are talking about sight reading here, not about learning a tune, so the material you read has to be something you have never seen before. Search online, borrow a book or look for charts in the music section of your library.
Composition
It is a known fact that you stand a better chance at ’making it’ (whatever that means) if you write and record your own music. And it is also a known fact that writing your music is a mix of inspiration and craft. So I suggest to write a bit every day if you can, and not to wait for inspiration. So when that great inspired idea comes along, you’ll have great craft to back it up.
Repertoire
I think this section goes well with the ‘Style’ section as well as the ‘composition’ section. Try and expand your repertoire as much as you can. At the end of the day, what you will be playing, the final results of your efforts and hours of practicing, are the songs you play live. Even if you only want to play original music you still should know the classics, and as many as you can. The best musicians I know can pull out the most famous songs (or at least ‘busk’ them) in any key.
Sound and Gear
Know as much as you can about your equipment. Rather than having a lot of ‘stuff’ and changing it often, I would personally pick the equipment you like best and know how to use it in detail. If you want to dial in a specific type of reverb or chorus you should know how to do it quickly, like you would be expected to do in a performance situation. I see too many guitarists going through the presets of the latest multi effect processor, without knowing the difference between chorus and a flanger.
Learn how effects sound, and how to ‘copy’ sounds you hear on records (e.g.: that guitar has a lot of hall reverb, some chorus, 800ms delay and a low gain overdrive).
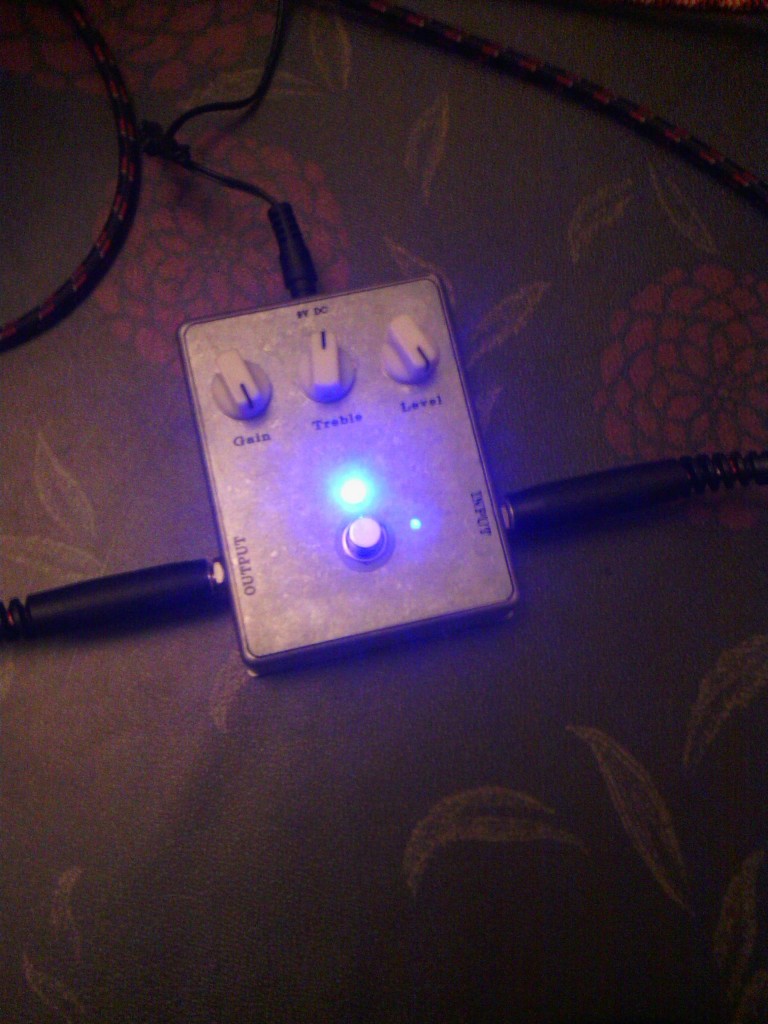
Remember that a lot of the hype behind certain effects is marketing. If you want to emulate your idol in terms of sound, you might want to look into what kind of gear he or she plays, but if you want to create your own sound you need to have an idea of what sound you want in your head before you buy tons of pedals.
Instrument care
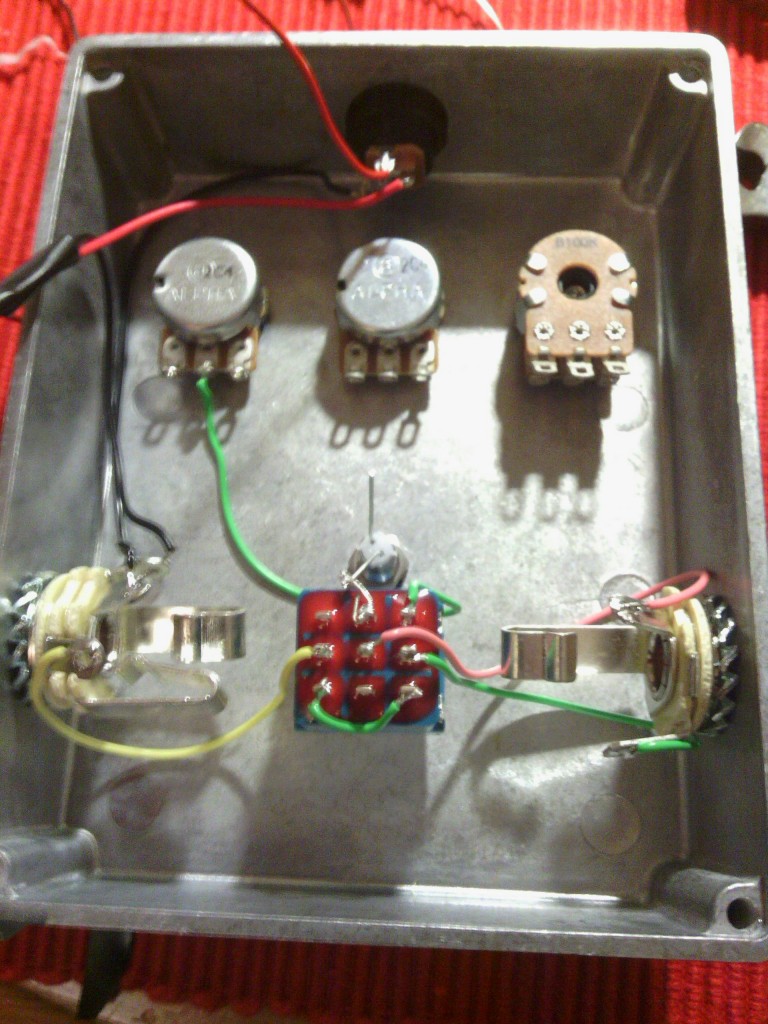
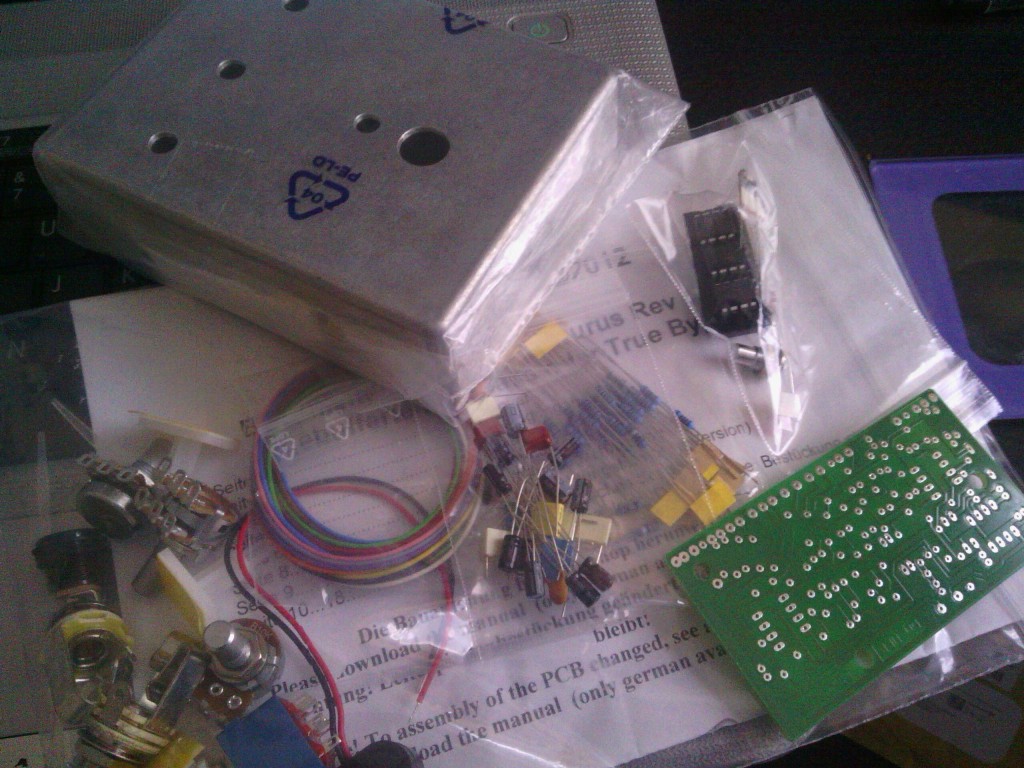
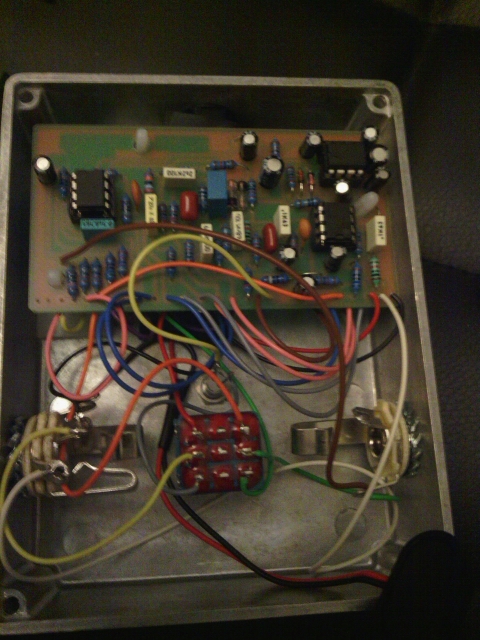
This is something I have learnt the hard way. When you are touring and you don’t have the luxury of a roadie, you need to know how to take care of your instruments, and how to perform basic repair and maintenance jobs. It will save you a lot of money as well, even if you have access to a repair shop. I am talking about basic setup, soldering cables, changing pickups, troubleshooting faults in your instruments, and so on. All you need to do is get yourself a good book (there are many out there) and a very cheap guitar to experiment on. Keep a basic toolbox with a screwdriver with interchangeable heads, a soldering iron with all that goes with it, a basic multi meter, a few different small sets of pliers, cutters, cable ties. See if there are parts in your equipment that need replacement often and keep backups. Warning: never put your hands in a tube amp if you don’t know what you are doing! There are very high voltages in some of the capacitors and if you don’t know exactly how to discharge them it can be fatal!
Self criticism, Reviewing and Knowing your strengths and weaknesses
Listen to recordings of your playing from different periods, keep them in a drawer and listen back from time to time. Be critical in a positive way: what do you think has improved? What do you think can be put back in your playing? Set goals for yourself and review those you have set in the past. Did you achieve them? If you failed, why did you fail? Remember that failing is not necessarily a bad thing, as we can learn a lot from our own mistakes.
Business mind set, Being able to find work for yourself, “Networking”
Are you a good advert for yourself? What does your image say? It doesn’t matter how many degrees you have or how fast you can play, or even how many pedals you own, at the end of the day, unless you are extremely lucky, you have to know how to find work for yourself and how to create, or become part of, a group of like minded artists. There are many resources on the net (Social media, for example) and on paper (magazines) for you to find work. Still, I think the best way is to find out where good live music venues are. Go check out the local music scene and when you hear good musicians, go talk to them, get involved, and see if you can honestly say you can add value to that scene. Be patient, good and genuine relationships take time and can’t be forced.
Health and energy levels.
Playing is more stressful to your body than you think. After a ‘rock out’ gig, you will feel exhilarated yet exhausted. The same if you play four hour-long sets in any style, or ten hours recording in a studio. Try to stay healthy and exercise frequently as energy levels have to be high all the time. I am not here to preach, but it is needless to say, stay away from smoking, drugs and all that, drink plenty of water, don’t eat too much junk and get a good night sleep. I think ‘balance’ is the right word here. Also try and channel negative energy to a more positive goal: sometimes if you are angry or frustrated you might find you perform better if you know how to channel that energy in your playing.
Inspiration and Artistry
Sometimes you need to look for inspiration, or listen to how other artists found a solution for something you are looking into. I think a great way to do this, especially taking advantage of the current level of technology, is creating playlists. You can sort them by different keywords: by genre, by mood, by year, or even just because you like certain tunes and you want to incorporate parts of them in your style. It is true that, in musical terms, ‘you are what you listen to’. As a matter of fact back when Motown was writing ‘number one hit’ after another, the writers hired by the label were told to listen only and exclusively to number one hits so that they could ‘get that number one sound’ into their writing. That’s ‘food for thought’. You should ask yourself are you a guitar player, a musician, or an artist? And do you want to impress, entertain or express?
Goals
This is the most important part if you want to succeed musically, artistically, financially and professionally. Set goals and find out how to achieve them. When achieved, set new ones…and so on. A very good example: imagine you had to build your own house from scratch, all by yourself. You would need to find out what tools are needed, how to read the project from the architect and so on…
Fun
Remember to have fun with it! Remember why you started playing. Sometimes it helps not to take your self too seriously…
Hope this helped, good luck!
