Tag: pedals

How to make guitar pedals – From a kit.

In this post I want to show how to put together a guitar pedal if you have basic soldering skills and basic knowledge of electronics. With this I mean recognising different components, knowing what’s the correct orientation of diodes and electrolytic capacitors and being able to read a basic circuit just in case there is some troubleshooting to do.

To start with I will show how to put together a pedal from a Kit.  There are a lot sites out there that sell kit will all components and also offer a pre-drilled enclosure. Probably the most famous is BYOC, but as I said there are quite a few that not only offer original designs, but also clones of popular pedals (like in this case).

This is what I received in the post a few days after ordering from a German website.

IMG_20130112_101250

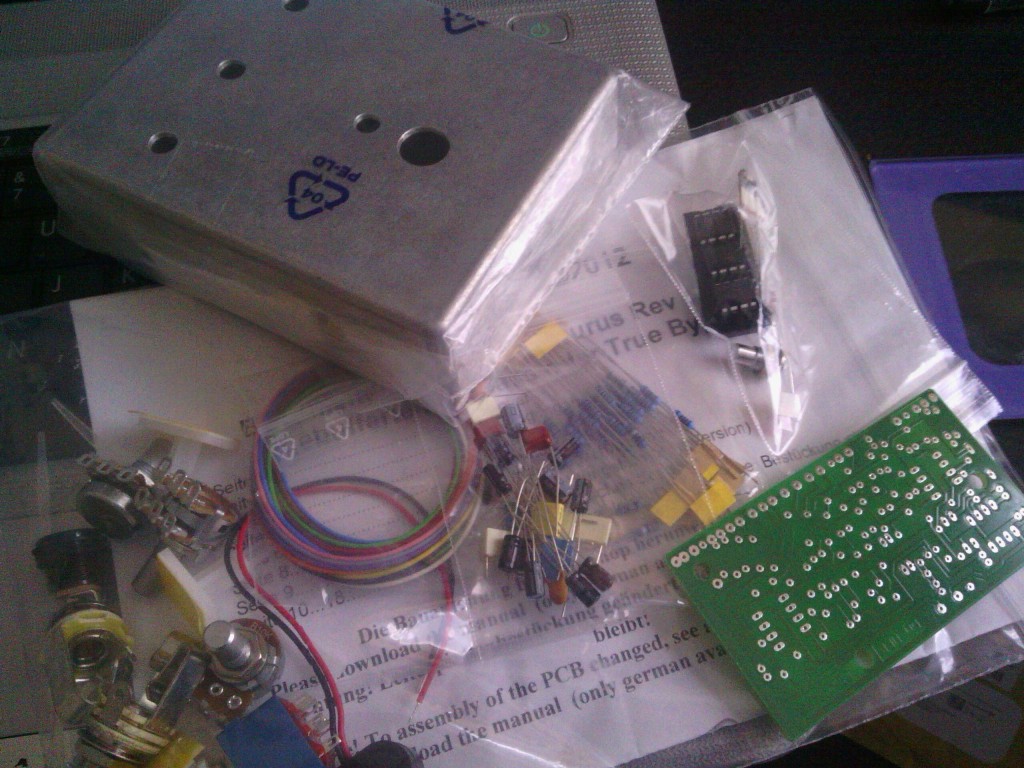
As you can see all components are separate, and before you start I definitely advice to read all instructions! In this case I found out that you could follow two separate sets of instructions, one for true bypass and one for a buffered version. All instructions were in German which did not help…!

A trick I have learnt to speed up the process is to identify all resistors and capacitors by taping them on the ‘bill of materials’ page like in the picture below.

IMG_20130112_154142

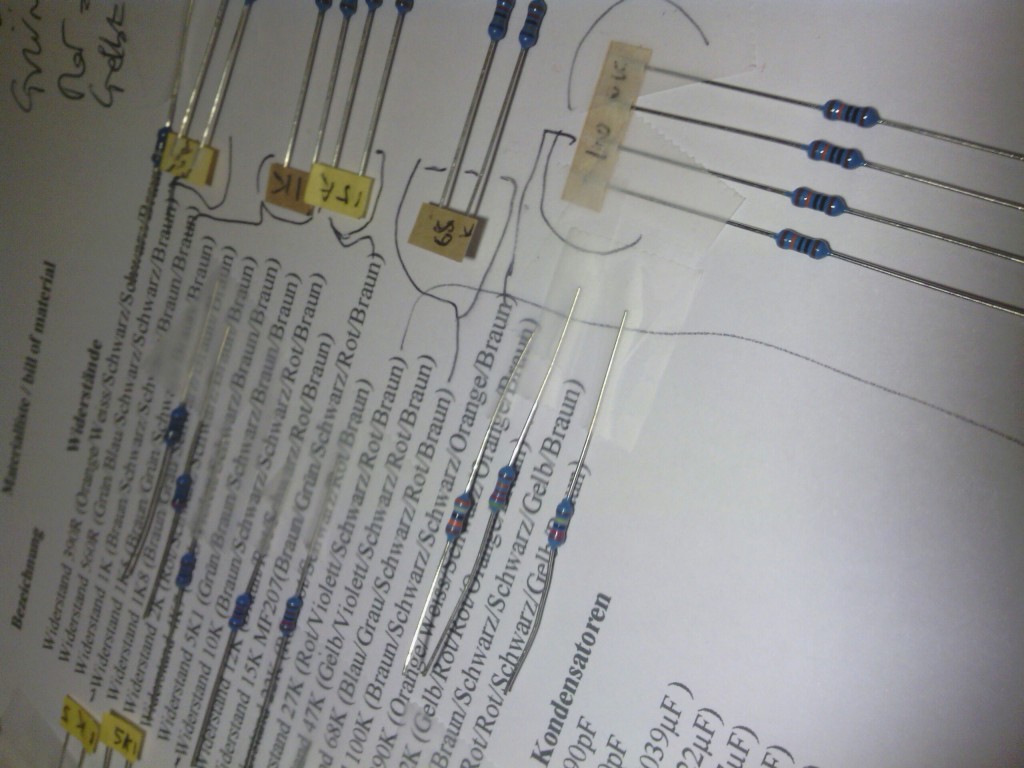
This makes things much easier when you will start populating (soldering components onto) the PCB.

After that I started to look into soldering components to the PCB, I decided to go for the buffered version, as this particular overdrive had a famously great sounding buffer section. I am not a fan of buffers, but I was curious to test it out. It can always be converted to true bypass with some small modifications.

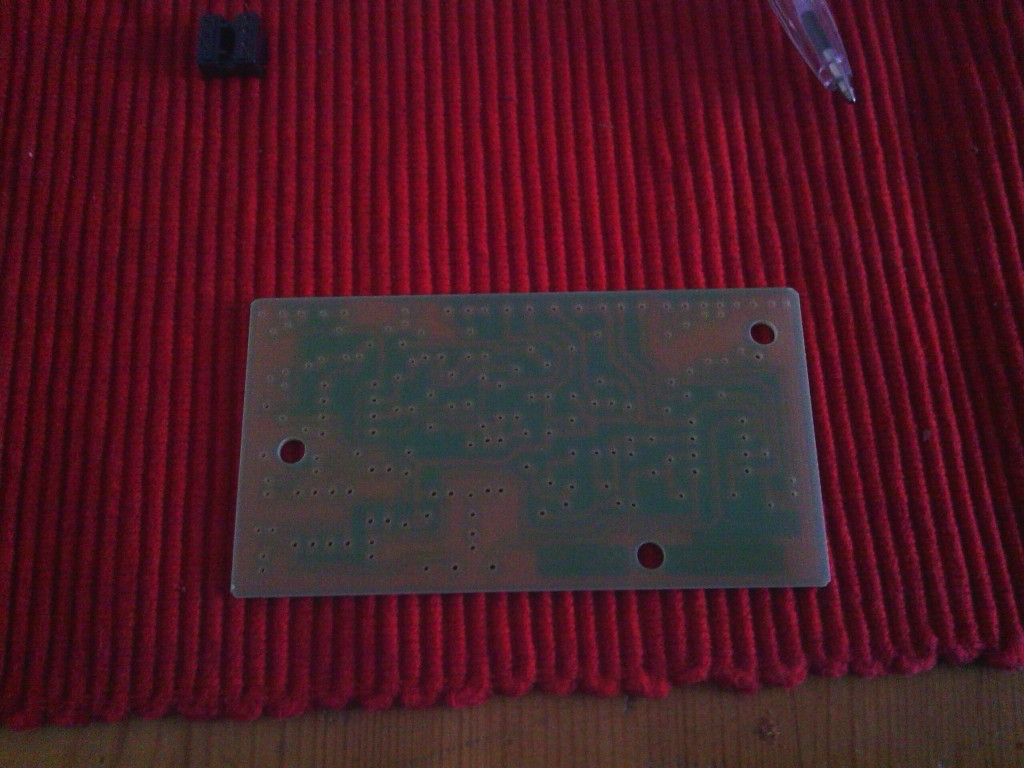
The layout is intended to match the ‘plain’ side of the PBC facing you, the one without the exposed metal circles, to be clear.

IMG_20130112_143255

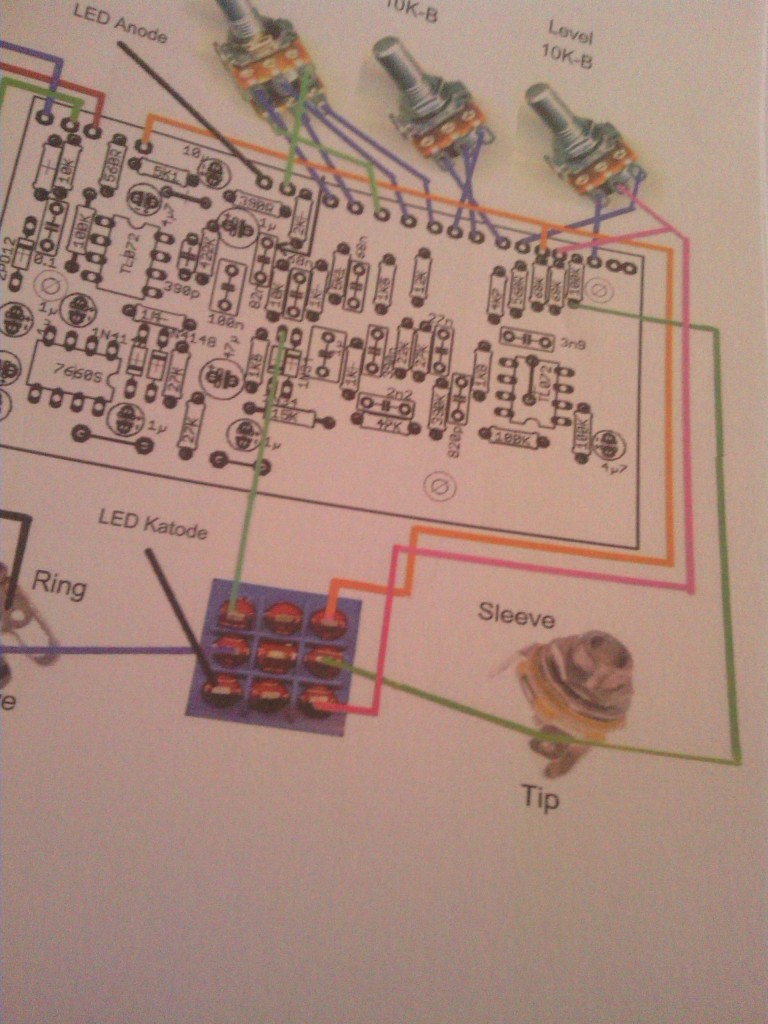
So this is what should be in front of you before you start soldering.

IMG_20130112_143339

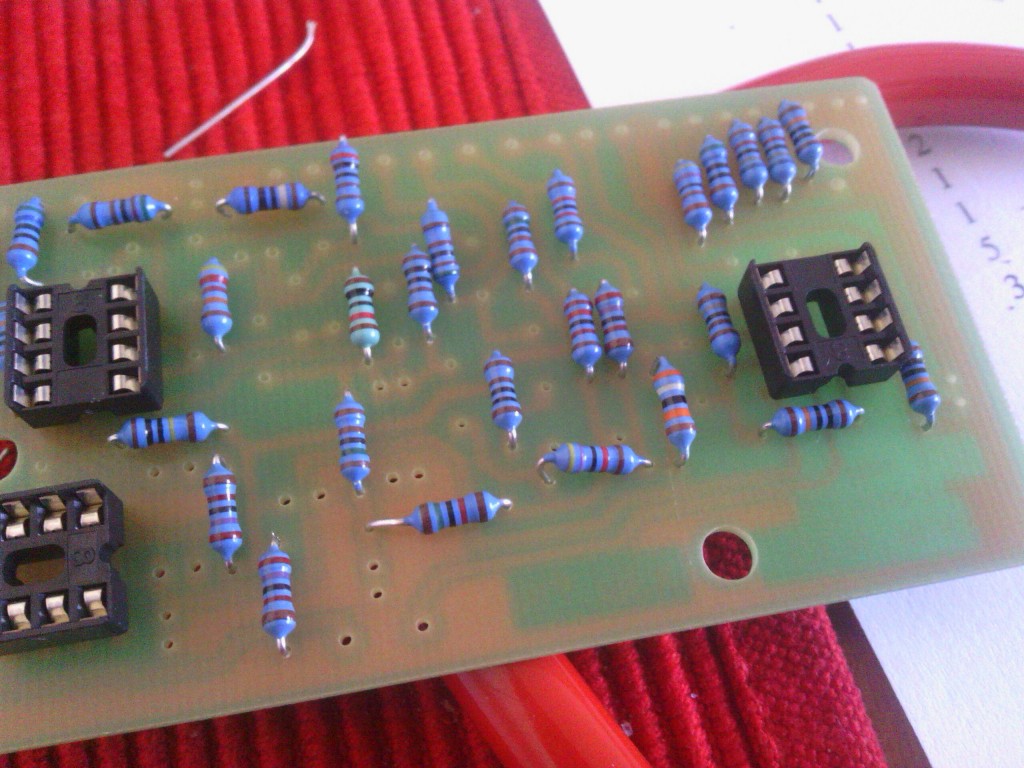
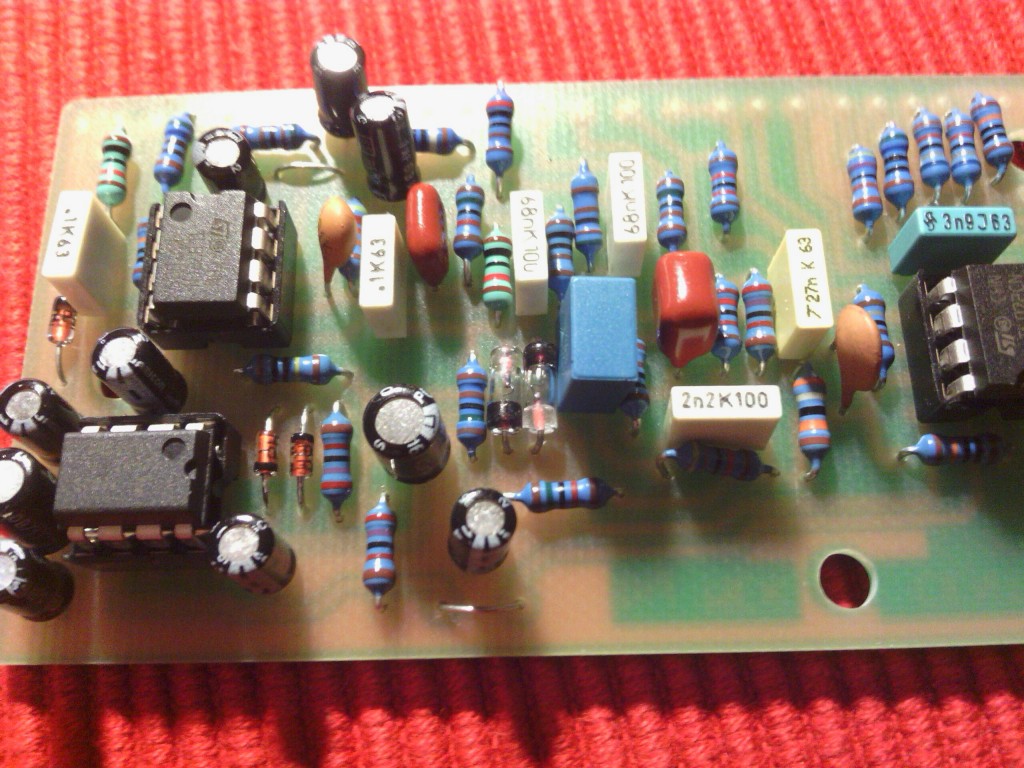
Next I started soldering all resistors onto the board and the IC sockets.

IMG_20130113_101852

Following that all Diodes and Elect Capacitors. Make sure you pay attention to the orientation of these two types of components. Diodes have a black band that needs to be on the correct side and Capacitor have the negative side marked usually by a different coloured band. This will all be marked on the PCB layout or on in the circuit.

IMG_20130113_172539

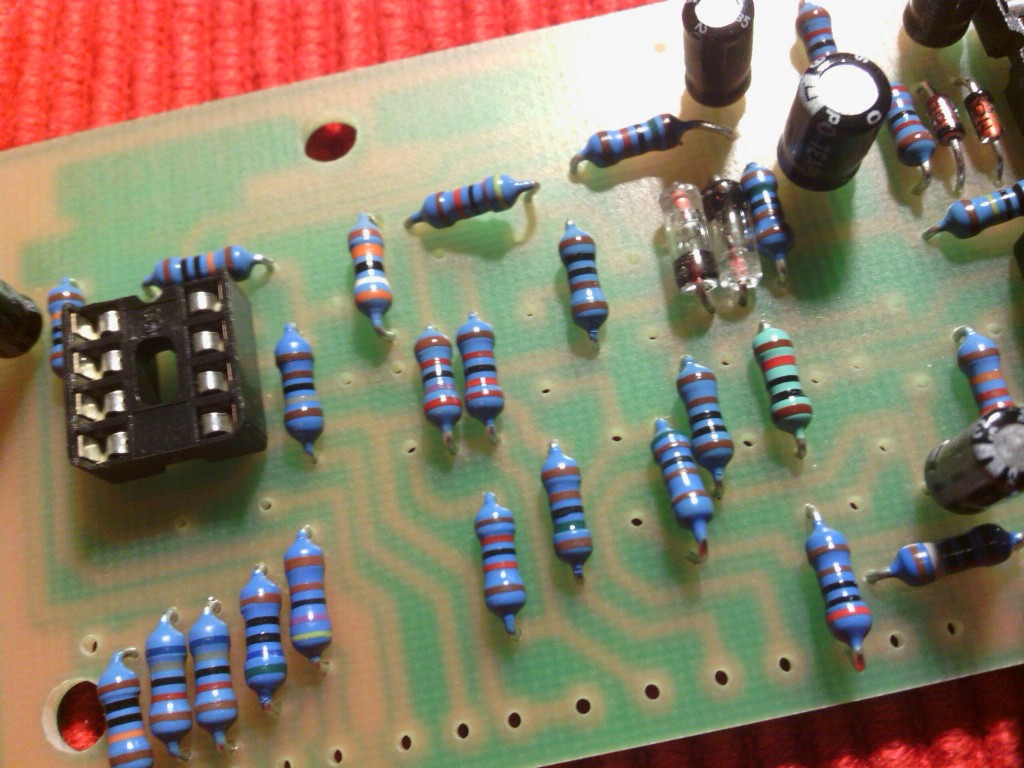
Next you will solder all remaining capacitors and slot the IC’s onto the sockets.

IMG_20130113_183229

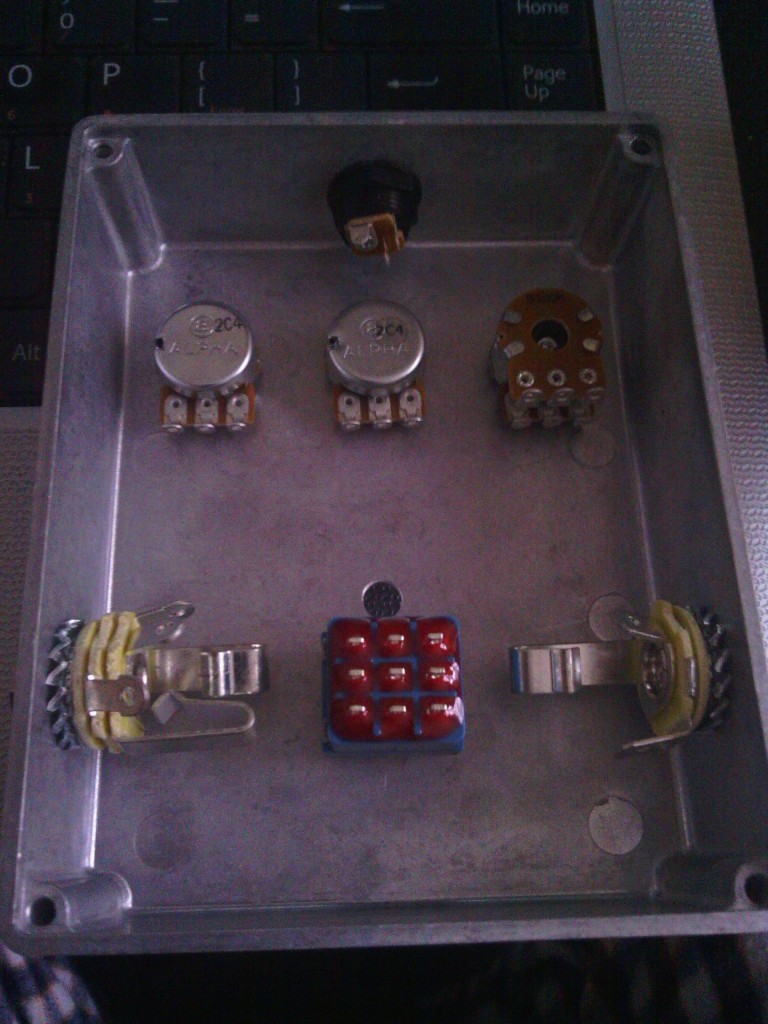
Almost there! Next you want to screw the potentiometers, jacks, foot switch, led holder and power socket on the enclosure. Sometimes (like I found out later in this case) it is better to wait to fit the potentiometers to the box, as it might make them easier to solder to the PCB.

IMG_20130112_104810

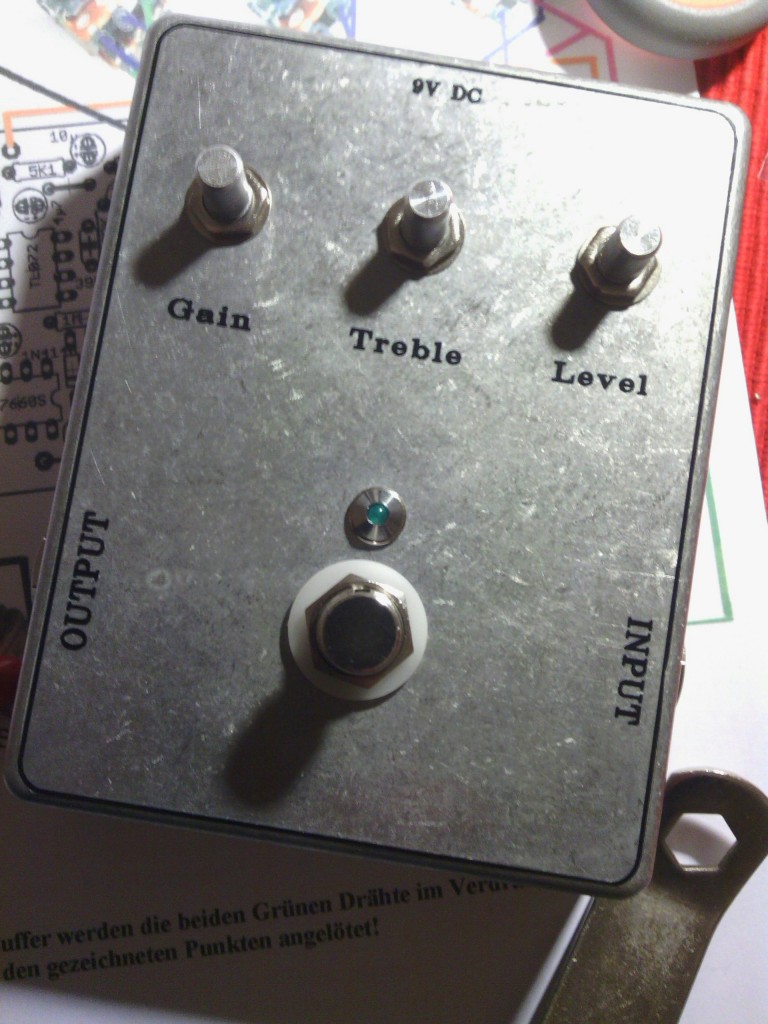
Before screwing all things onto the box I had applied the decals onto the front of the enclosure, I did this by using waterproof inkjet printable adhesive vinyl. It is an easy option and I found it lasts quite a bit without having to powder coat the boxes or having to spray paint them. Also you can use a regular printer which makes for potentially very creative artwork. I opted for a very basic and clear layout, but if this pedal makes it to my board, I will make it more interesting to look at!

IMG_20130113_194017

You can now start soldering the leads to the input  output and power section. This will all be shown in the main layout on the instructions.

IMG_20130113_203827

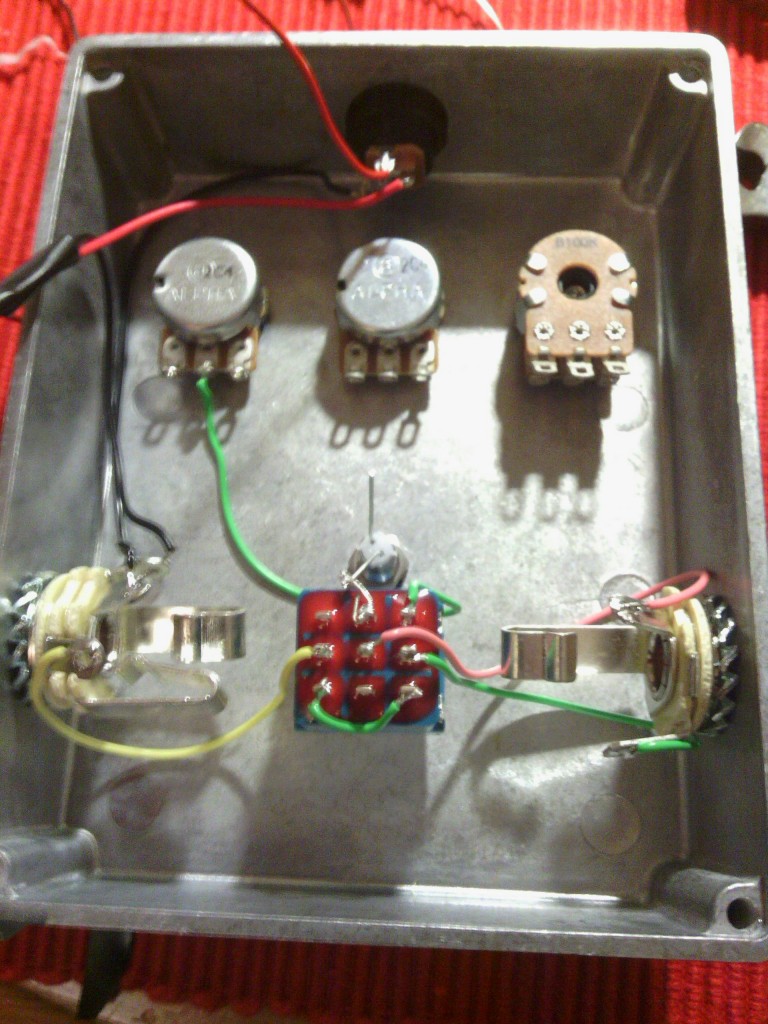
At this point I will connect the PCB to the potentiometers and in/out/power connections.

IMG_20130114_174839

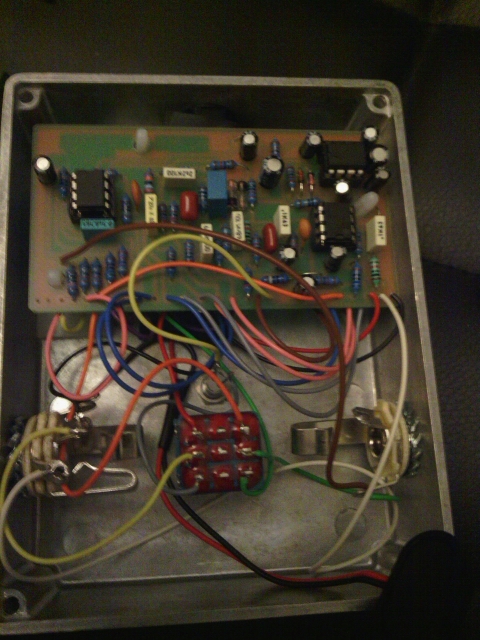
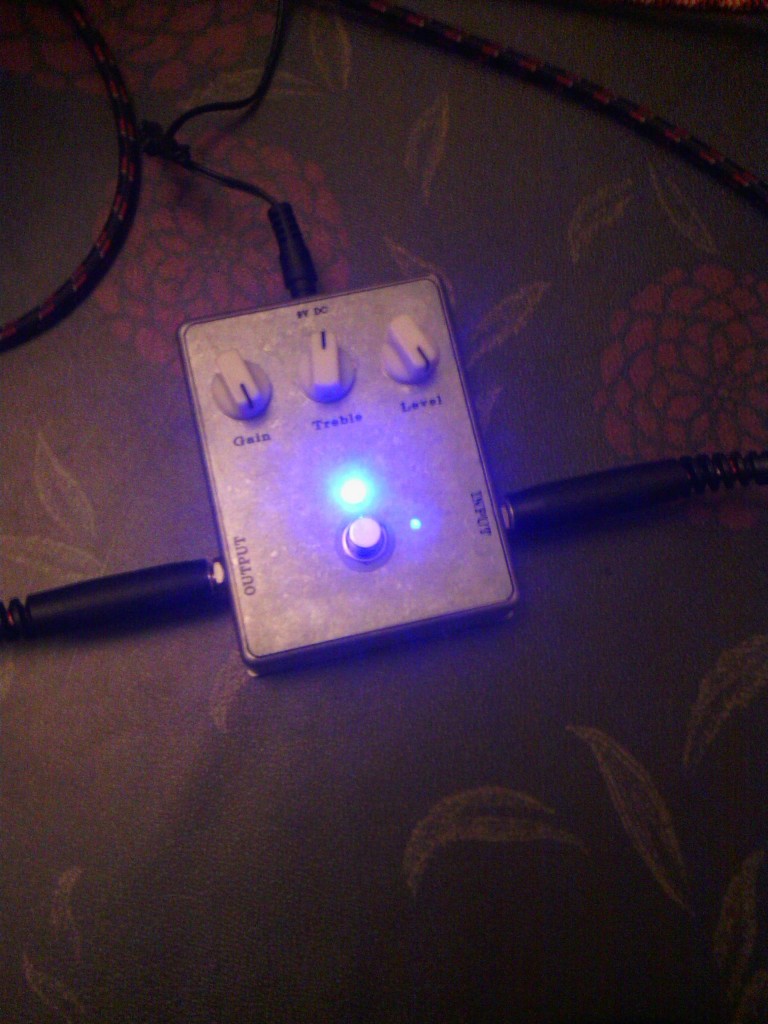
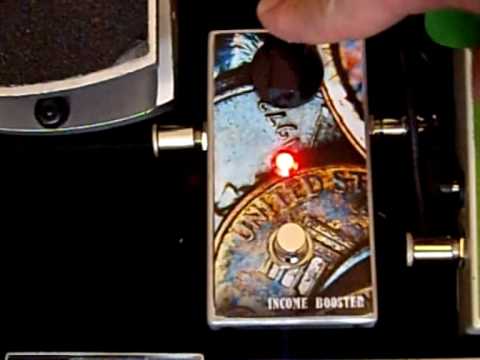
I will tidy up all the wires later, I just want to find out if it all works OK or it needs some troubleshooting. Luckily it all work fine, and it sounds great. Below the picture of the finished product in action!

IMG_20130114_180424


TC Electronic Toneprint Pedals

From time to time I bump into something new in terms of gear and I want to share it on the site. TC Electronic has been producing some new interesting things recently, one of these is the Toneprint pedals. Everybody seems to want the classic stuff nowadays, trying to copy vintage boxes or reissuing yet another limited version of the Tube Screamer.  Here TC Electronic goes in that direction, but adding a feature that I had only seen in much bigger units, definitely not is this size stompboxes, you can plug the pedal through a usb cable into your computer and download different patches made by famous artists.

Check out the video:

Line 6 Double Preset Mod

I posted this diagram on a different blog page ages ago, but I had so many emails about it that I wanted to post an update and some new pictures of a smaller enclosure.

The original was posted on January 5, 2009 and I think I did this mod (if you can call it that) during Christmas 2008. This is the original video I posted on youtube back then.

and this is the materials I used:

POT: 16mm B10K
DPDT switch
1/4 in stereo jack open

Of course some wire, soldering iron and a small gold enclosure (a used box of candies!)
It’s basically a volume pot in a box where the switch inverts the external tags of the pot and allows you to double the amount of presets on your Line6 MM4 and DL4 ( and should also work on AM4 and DM4) using the ‘Expression pedal morphing’ feature that already exists on this series of pedals. For the switch to work together with the pot, the pot has to be set at ‘0’ or ’10’.

I did use an external enclosure as I did not want to ruin the original box, but I have seen on youtube some guys that did this mod by drilling the enclosure at the top and placing the footswitch directly onto the case. Other further mods include adding a Status LED (you need a battery and a 3PDT switch for that. If you drill the case you should be able to take the power from the unit itself).

This is the rough diagram I uploaded a while ago, still valid:

line6-dl4-double-preset-mod

I am still using this box with my MM4 but as I need more space in my pedalboard I am now using a smaller enclosure:

Not the cleanest wiring job, but it has been working flawlessly for over one year, so I am going to leave it as it is…if it is not broken, don’t fix it!

Disclaimer: I am in no way affiliated with Line 6, I did this for personal use and enjoyment. If you decide to do this, I will not be held responsible to any damage to your equipment or injuries.

How to make your own guitar pedals

After being frustated with my tone tools for quite some time, I moved onto trying to to build my own. It is not as difficult as you would think if you have basic soldering skills and a predisposition to problem-solve and troubleshoot. Of course a simple circuit like a Fuzz pedal or an overdrive is possible to achieve with basic tools and knowledge but semething more complex like a delay pedal migth call for a printed circuit or maybe a kit if your skills are not top notch.

There are quite a few great sites and forums for you to learn the craft (I will post quite a few here). I am sure you will start up with a small selection of tools, but this is highly addictive stuff, so you will see your arsenal of tools grow very rapidly. for the UK the goto place is still Maplin Electronics as for the US Radio Shack still rules the high street.

What you will need:

Soldering iron (nothing too strong 30w will do to start, then maybe a temperature controlled station)

solder (try to get some decent one, maybe with silver and rosin core)

a selection of resistors and electrolytic capacitors, small value capacitor (learn how to read them, it’s not that hard) and stranded wire in a few different colours (you will soon learn the common coding). I’d suggest at the beginning to first to pick a project  and try to find all the components, but you will soon realise that most pedals use similar components as they all run at around 9v.

Hammond metal enclosures (you will find predrilled ones online if you are not keen to use a drill), dpdt, 3pdt (for true bypass) switches, jacks, led’s and a set of knobs of your choice.

Here’s a list of great sites :

http://www.generalguitargadgets.com – projects and kits, lots of famous pedals and tweaks of famous pedals. A must.

http://www.tonepad.com – Lots of schematics for the most famous pedals and some good step by step picture tutorials.

http://www.runoffgroove.com – original schematics, this site has been around for quite a while and I have built some of the pedals. highly recommended the different variations of Ruby amp.

www.muzique.com – by Jack Orman, this site has been on since 1995, and it is a must for original designs (don’s quote me on this but it seems that Fulltone took a look to this site for his famous fet booster…)

http://www.diystompboxes.com/smfforum/ – one of the top forums for the pedal mad.

http://www.beavisaudio.com/ – I LOVE this site, not the biggest but one of the best and clearest (the design is awesome) to understand how things work…great to understand how to connect switches and put together the pedal itself.
http://fuzzcentral.ssguitar.com/ – the name says it all, great site for all of you fuzz mad a lot of variations for fuzz pedals
www.geofex.com – again one of the oldest sites, great stuff especially the ‘technology of’ pages, where famous pedal are dissected and explained (tubescreamer, fuzz face…). lots to learn here
http://www.super-freq.com/ – a great site of tweaks and original schematics, very clean layouts!
http://freestompboxes.org/ – the ‘black hat’ circuit discovering and bending, great to find out how most famous pedals are built and who copies who…
Premade Kits:
http://www.buildyourownclone.com/ –  the most famous site that covers most famous pedals and tweaked famous pedals
http://olcircuits.com/olckits.html – licensed kits for some of runoffgroove’s beavis audio, and more sites cited above, if you are in trouble but you like some of the stuff you see on the sites above, here you might find a solution.

Where to find Parts and components:

www.smallbearelectronics.com – great site (stateside)

www.banzaieffects.com – german based businness that serves europe. I have bought quite a few times from them and they are great.

http://www.pedalpartsplus.com/ – not the biggest, but a great shop especially for the powder coated enclosures


Some of my creations:

‘Income Booster’ – just a clean volume boost, similar to LPB-1 EH, just a clean and fat volume boost.


OCD clone – Great pedal, made a clone to see how the circuit worked (basically 2 Fets used to clip) and liked the sound after a few tweakes…now in my pedalboard.


Fuzz Face variation:


Swtich pedal for Line 6 MM4 (and all that serie of pedals): This has been on youtube for ages…and I am glad to see it has spakerd quite a conversation and more mods…


Disclaimer: I love making original circuits and cloning existing pedals: the latter should be an exercise and never used for commercial purposes. Companies and individuals spend a lot of time and money to develop those pedals: respect other people’s work. Pay attention to soldering and extra attention if you want to venture into etching and making your own PCB’s, I will not be held  responsible for any damage!